Buy the Book
Subscribe to Updates
Who Are the Monkeys?
Inside the Book
Resources for Readers
Reviews
Bonus Tom Articles
Facebook Fan Page
Contact Us
Publisher

Pygmy Goat Pallet House
The Foundation
The Foundation
Contents
Introduction
Prep Work
The Foundation
Side Walls
Front Door Frame
Finish the Door
Back Wall
Roofing
The Foundation

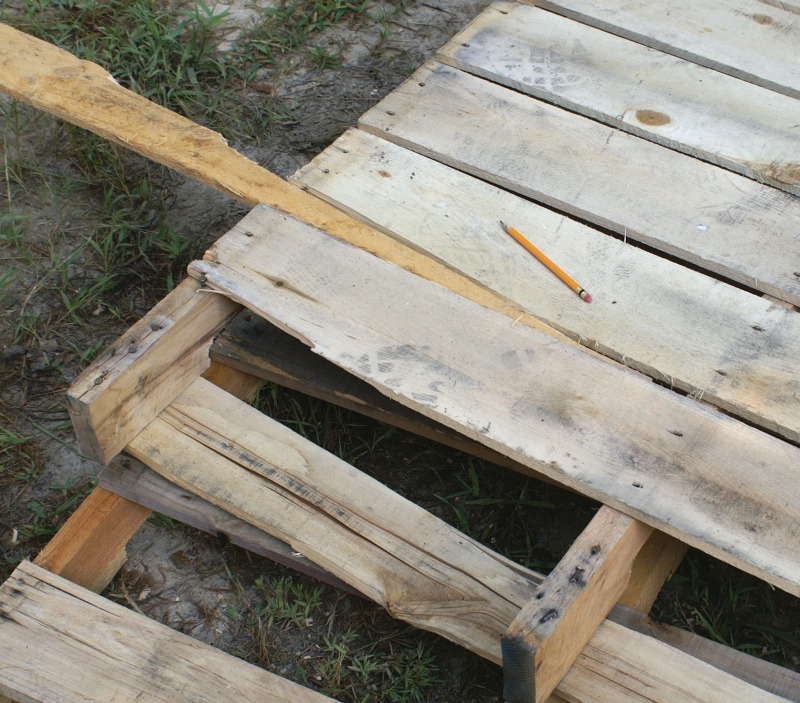
Note that while the slat spacing is small, it still qualifies as a standard pallet in that the rails are at the ends of the slats. This feature is essential when we start attaching the walls in the next section. Note also that this particular pallet has some imperfections in one end. One of the slats is missing a wedge-shaped section, while the end slat is falling off. We'll fix both of these problems as examples of pallet-work in this section. |
click picture to enlarge in new tab/window Bottom line: don't worry about a great fit with your repair wedges. It's probably better that the fit is a little sloppy. Once you've selected your repair wedge, mark and cut to fit. Also cut off some of the narrow end, as this would otherwise just turn into a splinter or trip hazard. |
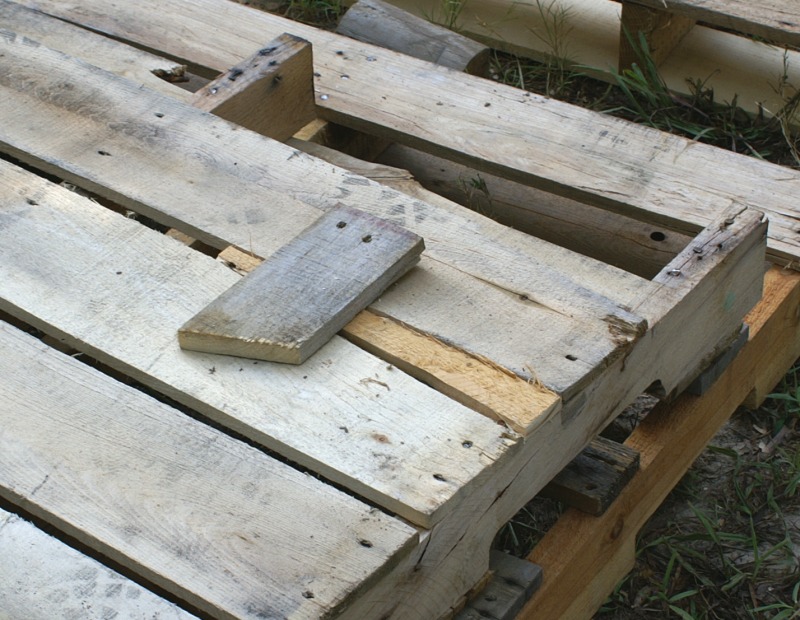
click picture to enlarge in new tab/window You will also see that we've selected a relatively robust block of wood from our scrap pile. This block, lying atop the wedge in the photo, will be placed underneath the repair in the next step. We've shown it here for scale to illustrate how it will span the adjacent slats to allow them to help hold our repair. Fans of drywall repair will appreciate what we're doing here. |

click picture to enlarge in new tab/window You can also see in the enlarged version of this photo a nail, from the former end rail, which has been driven flush with the rail. |
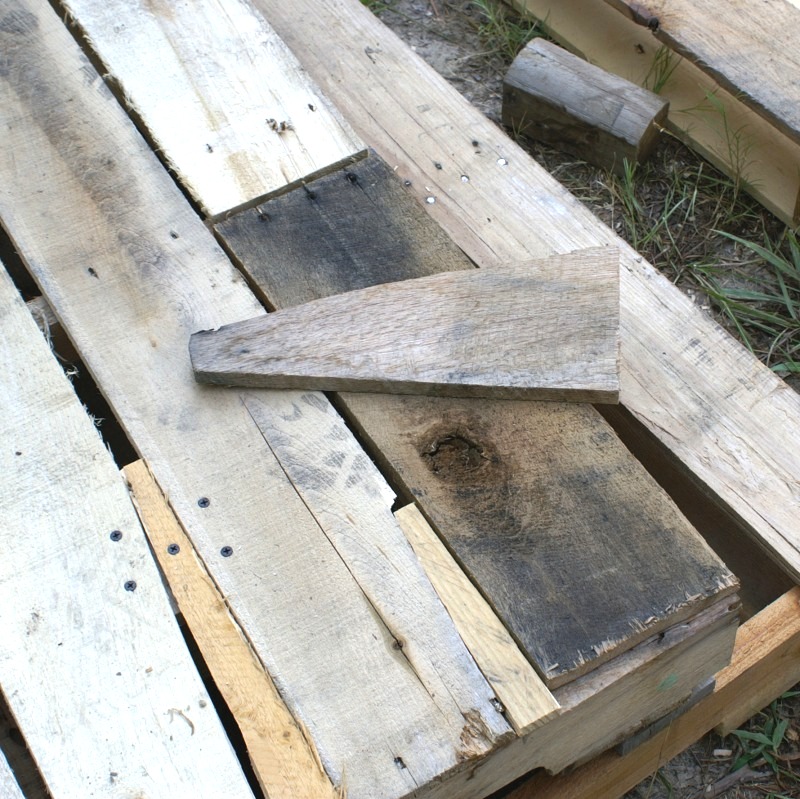
click picture to enlarge in new tab/window This is a busy photo. We've also placed into position two wide half-slats, a darker one with a knot-hole and a lighter one extending beyond the top of the photo, to span the gap where the original slat was falling off. The original slat was too thin anyway, and left too much room between slats. Also shown is a smaller wedge waiting for the brace (the piece that looks like a backwards New Hampshire) to be placed underneath. This brace will also help hold one of the wide slats in position. Remember, though, if you can't find a suitable pallet to use for a floor with perhaps a few minor patches, then don't waste a lot of time and effort trying to make it work. Instead, use a normal pallet, remove every other slat, and then floor after we install the sill plate, described later in the front door section. |

click picture to enlarge in new tab/window 
We've also installed the second brace, also underneath the repair. Again, support the brace with a block of wood so that you can get it snug against the slats. Finally, the second smaller wedge has been screwed to the second brace. For this one, we haven't bothered to tack down the edge to the rail, for reasons which will become obvious in a moment. |
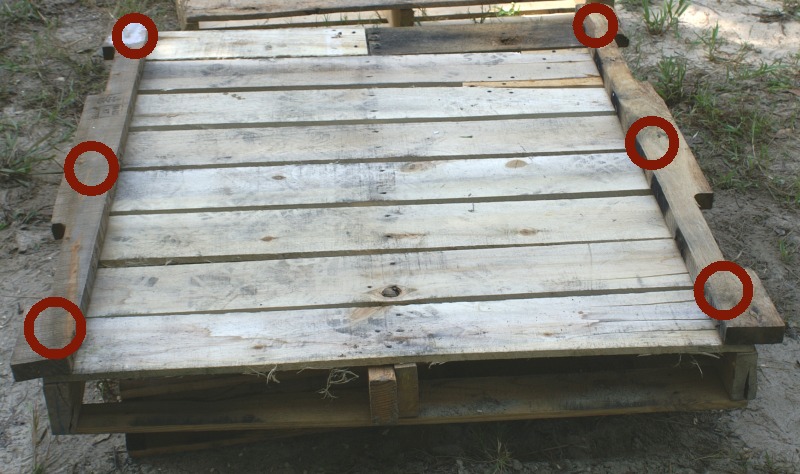
click picture to enlarge in new tab/window Position the side-wall brace rails as shown, with the forklift notches facing out, and the bottom of the notches flush against the outside of the bottom rails. Then, secure the brace rails to the main rails below with three large deck screws per side, at the positions circled on the photo to the left. Remember, when using deck screws, you must first drill a pilot hole to ease the work (also drill pilot holes for easily split pieces when using drywall screws, too). For a refresher on pilot holes, please review the pallet construction primer. |

click picture to enlarge in new tab/window |
| Now, in the next section, learn about adding side walls to the pallet goat house. |
Shop our

Online Store
or

or
Get it on Kindle