Buy the Book
Subscribe to Updates
Who Are the Monkeys?
Inside the Book
Resources for Readers
Reviews
Bonus Tom Articles
Facebook Fan Page
Contact Us
Publisher

Pygmy Goat Pallet House
Side Walls
Side Walls
Contents
Introduction
Prep Work
The Foundation
Side Walls
Front Door Frame
Finish the Door
Back Wall
Roofing
Side Walls
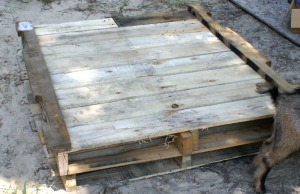
As you will recall, we selected three standard pallets to form the floor and walls of our house. We used one of these for the floor, now we'll add the other two. But first, we need to prepare those pallets accordingly. How do we prepare them? Well, remember that our little billy goat has horns. We don't want him getting his head stuck between pallet slats on the roof, so we need to get rid of any obstructions that might present themselves. To do this, we'll take the middle slats off the bottom of our two wall pallets. |
 click picture to enlarge in new tab/window
click picture to enlarge in new tab/window Finally, make sure that all three pallets are flush on at least one end. Flush on both ends would be best, but this is not always possible. The flush end will wind up being the end with the door. |
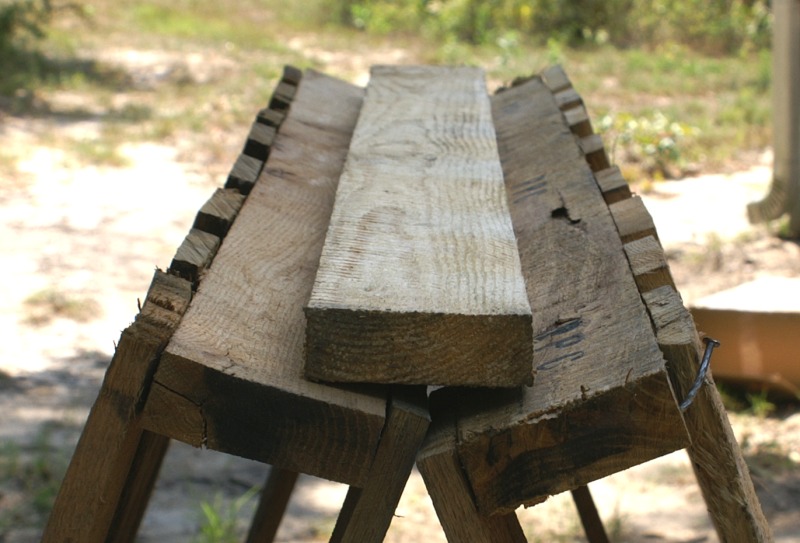
click picture to enlarge in new tab/window Note that the side frames overlap a little at this end due to warping. Again, this is fine. 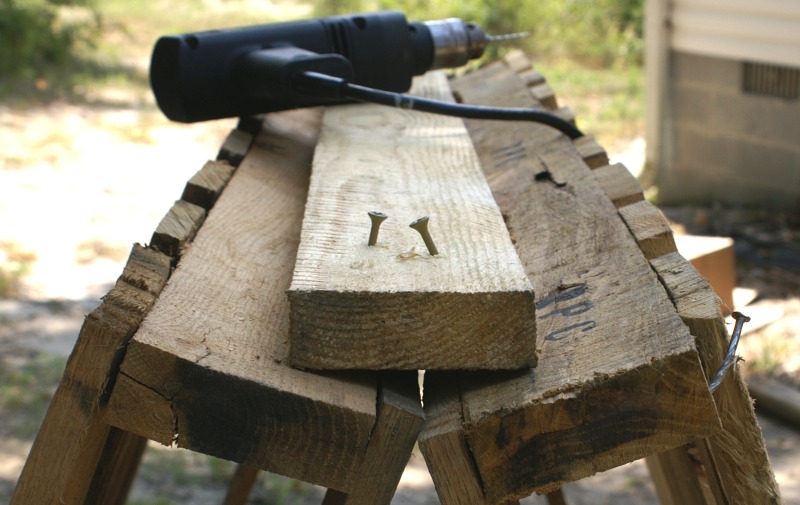
click picture to enlarge in new tab/window The first two screws are shown to the left. Yes, it looks a little rough, but both of these screws are taking plenty of bite on those hunks of oak. There won't be much load on this piece by the time we're done, and catching the meat of the ridge beam keeps this hunk of poplar from splitting. |
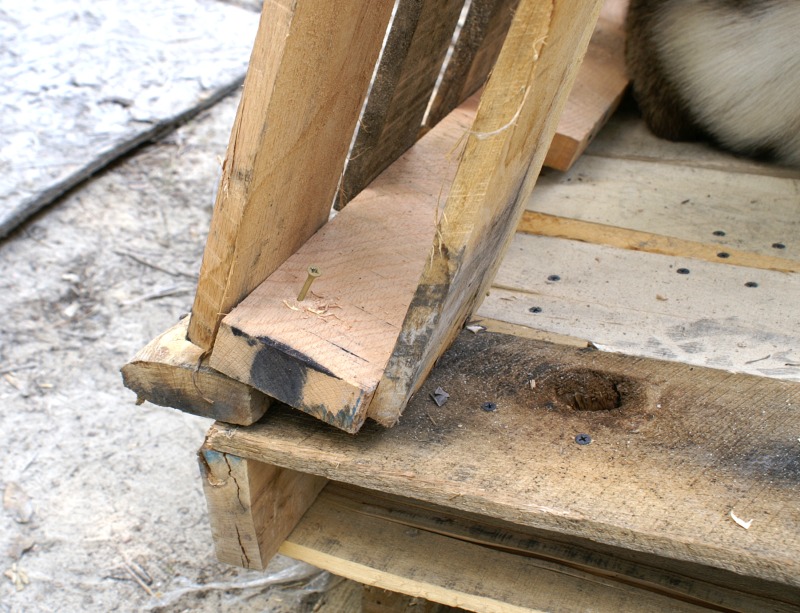
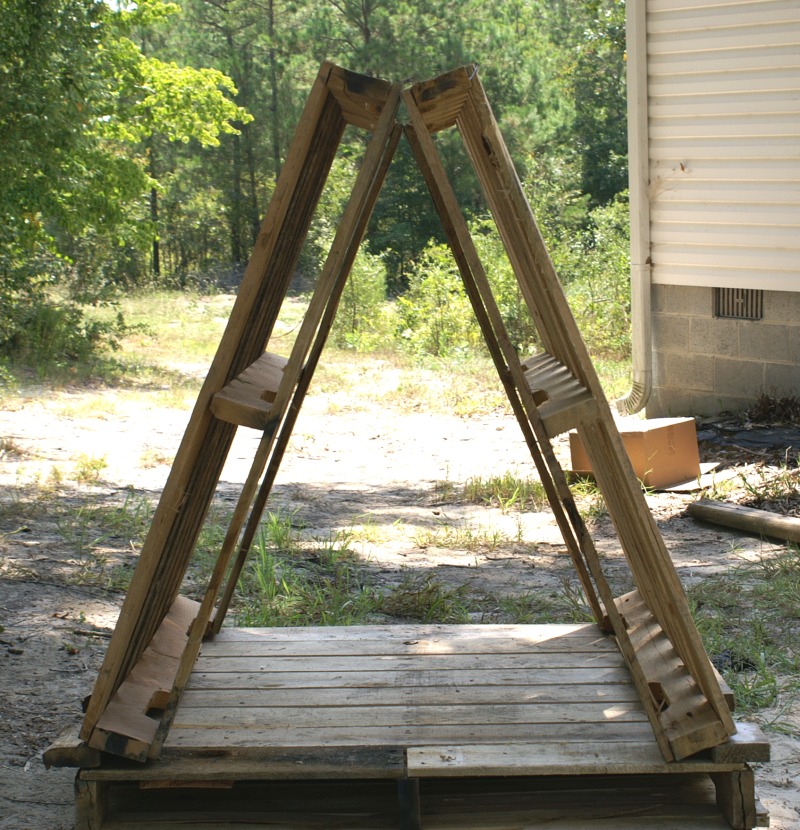
click picture to enlarge in new tab/window Notice also that the warping has lifted the side wall off the floor a bit. Getting all three of these to line up right is a balancing act. I had to remind myself that it is a goat house and to not get too crazy about these things. Regardless, by the time you finish this step the goat house will feel just about bombproof. If you live in a pre-fab framed monstrosity, you might start getting a little jealous of the goat when we get the roof shingled later. 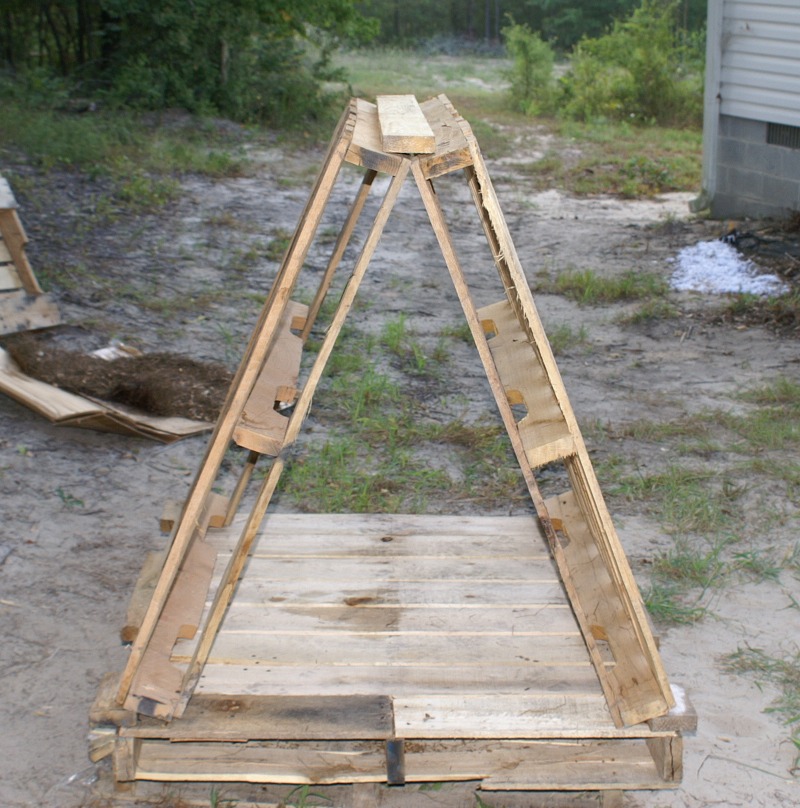
click picture to enlarge in new tab/window Note that the shape is a more or less symmetric isosceles triangle. We measure the base angles to be about 22.5 degrees off vertical, which is a convenient marked setting for most miter saws. We'll make heavy use of this setting, as well as a right-angle cut, when we add the end walls and door. Oh, and watch those boxes of screws. George almost swallowed a couple before we could pry them out of his mouth. The wall with the door will have the most comprehensive and involved instructions in this project. If you haven't built much of anything before, now might be a good time to take a break and let your experience sink into your subconscious before proceeding. |
| Ready? Now in the next section, learn about adding the door frame to the pallet goat house. |
Shop our

Online Store
or

or
Get it on Kindle